> ## Documentation Index
> Fetch the complete documentation index at: https://docs.withrealm.com/llms.txt
> Use this file to discover all available pages before exploring further.
# Tools and actions
> Allow agents to take actions in external systems
Tools allow agents to take actions in external systems, such as sending emails, updating CRM records, creating tickets, or posting messages. Realm includes built-in tools and also supports custom integrations via MCP (Model Context Protocol).
## Available tools
Realm includes tools for popular workplace apps:
Two tools are available out of the box with no setup required:
| Tool | Description |
| ---------------- | ------------------------------------------------ |
| **Email** | Send emails to Realm users |
| **HTTP Request** | Send HTTP requests to external APIs and webhooks |
## Adding tools to an agent
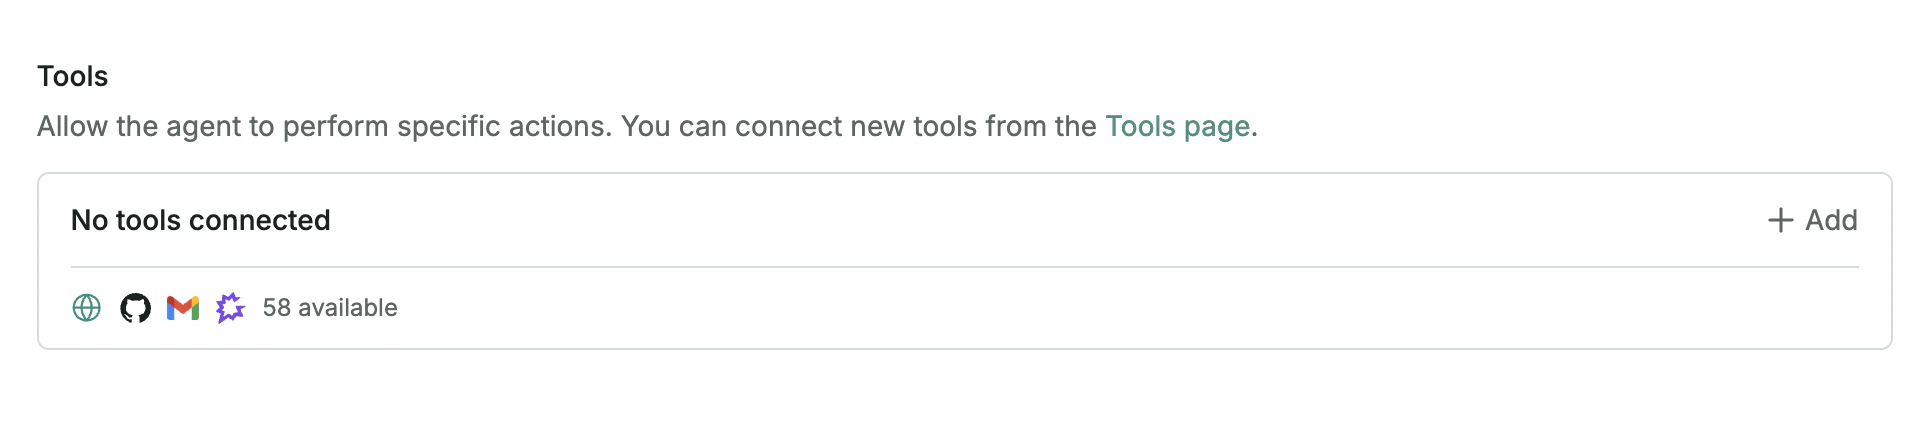
In the agent editor, navigate to the **Tools** section to select which tools the agent can use. Only tools that have been enabled by an admin are available.
 ## Configuring actions
Each tool exposes individual actions, such as "Create Ticket" or "Update Contact". For each action you can choose:
| Setting | Description |
| ------- | ------------------------------------------------------------------ |
| **On** | The agent can run the action automatically |
| **Ask** | The agent must request user confirmation before running the action |
| **Off** | The agent cannot use the action |
Use **Ask** for actions that are hard to reverse or that carry risk, such as sending emails or updating records.
## Configuring parameters
You can also configure parameters for each action:
* **Preset parameters**: Lock a parameter to a fixed value. For example, always post messages to a specific Slack channel.
* **Hidden parameters**: Hide parameters from the model so they cannot be modified or accessed by the agent.
Use preset parameters for stable values that define where an action is allowed to operate, such as a Slack channel, a Google Sheets Spreadsheet ID, or a fixed sheet name. Let the agent fill parameters that depend on the current task, such as the message text, generated cell values, or the row that matched a CRM record.
For write actions, preset parameters are a useful guardrail. They keep the agent pointed at the intended system or document while still letting it decide the dynamic parts of the update from the trigger context and its instructions.
## Personal tools
Some tools, such as Gmail, Google Calendar, and Outlook, require each user to connect their own account. These are called personal tools. Users can connect their personal accounts from **Settings** > **Personal integrations**.
For organization-scoped tools, an admin authenticates once and all users share the same connection.
For details on enabling and managing tools across your organization, see
[Admin guide: Tools](/admin/tools).
## Updating Google Sheets
To let an agent update an existing Google Sheet, the Google Sheets tool must be connected and the spreadsheet must be selected with Google Picker.
An admin can do this from **Agents** > **Tools** or **Settings** > **Tools**:
Open **Google Sheets** and find the connection the agent will use.
In **Connections**, click **Pick files**. Google Picker will open in a popup
window.
Select each spreadsheet the agent should be allowed to update, then confirm
the selection.
Add the Google Sheets tool to the agent and turn on the update action, or
set it to **Ask** if users should confirm updates first.
Connecting Google Sheets only authorizes the account. The specific spreadsheets must also be picked before agents can update them through the Google Sheets tool.
## Configuring actions
Each tool exposes individual actions, such as "Create Ticket" or "Update Contact". For each action you can choose:
| Setting | Description |
| ------- | ------------------------------------------------------------------ |
| **On** | The agent can run the action automatically |
| **Ask** | The agent must request user confirmation before running the action |
| **Off** | The agent cannot use the action |
Use **Ask** for actions that are hard to reverse or that carry risk, such as sending emails or updating records.
## Configuring parameters
You can also configure parameters for each action:
* **Preset parameters**: Lock a parameter to a fixed value. For example, always post messages to a specific Slack channel.
* **Hidden parameters**: Hide parameters from the model so they cannot be modified or accessed by the agent.
Use preset parameters for stable values that define where an action is allowed to operate, such as a Slack channel, a Google Sheets Spreadsheet ID, or a fixed sheet name. Let the agent fill parameters that depend on the current task, such as the message text, generated cell values, or the row that matched a CRM record.
For write actions, preset parameters are a useful guardrail. They keep the agent pointed at the intended system or document while still letting it decide the dynamic parts of the update from the trigger context and its instructions.
## Personal tools
Some tools, such as Gmail, Google Calendar, and Outlook, require each user to connect their own account. These are called personal tools. Users can connect their personal accounts from **Settings** > **Personal integrations**.
For organization-scoped tools, an admin authenticates once and all users share the same connection.
For details on enabling and managing tools across your organization, see
[Admin guide: Tools](/admin/tools).
## Updating Google Sheets
To let an agent update an existing Google Sheet, the Google Sheets tool must be connected and the spreadsheet must be selected with Google Picker.
An admin can do this from **Agents** > **Tools** or **Settings** > **Tools**:
Open **Google Sheets** and find the connection the agent will use.
In **Connections**, click **Pick files**. Google Picker will open in a popup
window.
Select each spreadsheet the agent should be allowed to update, then confirm
the selection.
Add the Google Sheets tool to the agent and turn on the update action, or
set it to **Ask** if users should confirm updates first.
Connecting Google Sheets only authorizes the account. The specific spreadsheets must also be picked before agents can update them through the Google Sheets tool.